How To Create E-Learning Videos with Voiceovers using Micmonster
Mobile learning courses allow students or employees to catch up quickly, anytime, anywhere.To create these bite-size e-learning videos, i have used two tools, one is the commonly used PowerPoint, the other is Micmonster.
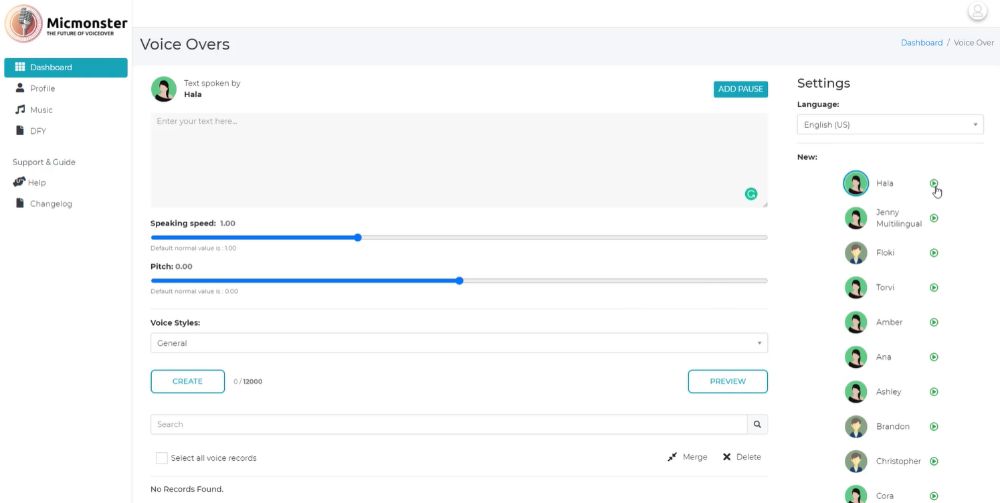
Micmonster is a fully-automated, affordable software that turns any text into natural lifelike voice-overs. This is cloud-based software, which consists of about 300+ voices and 48 languages, and it has advance features like accents, speed and pitch voice adjustments like many of the more expensive text-to-speech alternative providers.
This software has a simple user interface that helps any user easily navigate through.There is also no need for users to download the voice packs since everything is hosted on MicMonster servers. Once purchased, additional future upgrades included without any extra charges. Support is also easily reachable via its life chat support.
Micmonster’s competitors include Speechelo and Talkia. You may want to do a quick search and do some due diligence on its competitors. What really makes the difference is the quality and support MicMonster provide without the compromise of the features.
Creating E-learning using PowerPoint and MicMonster
I will be sharing on how I create bit-size e-learning materials using PowerPoint and Micmonster. Below is an example on a bite-size elearning that I have created.
Step 1: Planning & Scripting
Use PowerPoint to make bite-size e-learning material. Some areas to note are as follow:
- Making training content short.
- Keep the design simple.
- Focus on ‘must-know content. Too many text and images will put a strain on personnel viewing the e-learning materials on mobile devices.
Step 2: Create voice-overs
- Head over to Micmonster to create voice-overs for individual slides.
- Keep the sentences short and precise.
Step 3: Insert the voice-overs to PowerPoint
Step 4: If there are multiple animations, arrange sequence of voice-overs via animation panel
Step 5: Record slide show to ‘programme’ the sequence and timings
Step 6: Save as File type ‘mp4’ to convert ppt to mp4 format
Click Here to Check Out Micmonster Now
Other Posts


